


今回は、フロントエンド側の実装編です。前回までの内容については、こちらからご覧ください。
【Java学習】Spring Boot+Vuetifyでファイルのアップロードとダウンロードを作ってみた。-環境構築編-
作りたいものこんな感じでファイルをアップロードしたりダウンロードしたりするアプリを作りたいと思います。...
nexflame.com
2021.08.29

【Java学習】Spring Boot+Vuetifyでファイルのアップロードとダウンロードを作ってみた。-バックエンド側実装編-
今回は、バックエンド側の実装編です。環境構築については、こちらからご覧ください。1.パッケージ...
nexflame.com
2021.08.29
1.ファイルの確認と新規作成
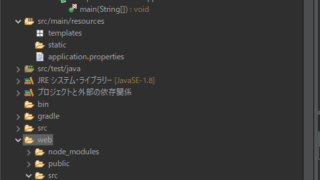
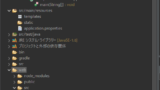
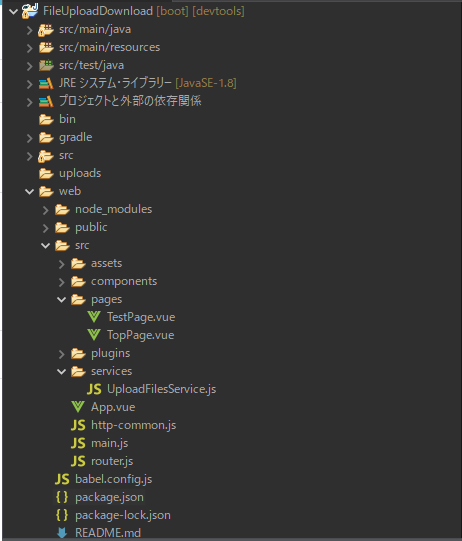
webフォルダ配下にそれぞれのファイルがあるかを確認し、無ければ作成する。(画像参照)
- src/pages/TestPage.vue
- src/pages/TopPage.vue
- src/service/UploadFilesService.js
- src/App.vue
- src/http-common.js
- src/main.js
- src/router.js
2.各ファイルの記述内容
TestPage.vue
こちらは画面遷移ができるかを確認するテスト用の画面。
<template>
  <v-app>
    <v-app-bar
        absolute
        color="#00A4AD"
        dark
    >
      <v-toolbar-title>ページルートテスト</v-toolbar-title>
    </v-app-bar>
    <v-container class="ml-0 mt-16">
      <v-row>
        <v-col cols="4">
          <v-btn
              color="blue-grey lighten-4"
              width="100"
              v-on:click="clickTopPageBtn"
          >
            top page
          </v-btn>
        </v-col>
      </v-row>
      <v-row>
        <v-card class="ml-3" color="yellow lighten-5">
          <v-card-title>{{ testPost.title }}</v-card-title>
          <v-card-text>
            {{ testPost.content }}
          </v-card-text>
        </v-card>
      </v-row>
    </v-container>
  </v-app>
</template>

<script>
export default {
  name: "TestPage",
  data: () => ({
    // APIから取得したデータをバインド
    testPost: {
      title: "",
      content: ""
    }
  }),
  mounted() {
    // RESTAPI呼び出し
    const el = this
    this.axios.get("/test/entries/latest")
        .then(response => {
          el.testPost = response.data
        })
  },
  methods: {
    clickTopPageBtn: function () {
      this.$router.push("/")
    }
  }
}
</script>

<style>
</style>
TopPage.vue
最初に表示される画面のソース
<template>
  <v-app>
    <v-app-bar
        absolute
        color="#00A4AD"
        dark
    >
      <v-toolbar-title>トップページ</v-toolbar-title>
    </v-app-bar>
    <v-container class="ml-0 mt-16">
      <v-row>
        <v-col cols="4">
          <v-btn
              color="brown lighten-3"
              width="100"
              v-on:click="clickTestBtn"
          >
            テスト
          </v-btn>
        </v-col>
      </v-row>
      <v-row>
        <v-file-input
            small-chips
            multiple
            label="File input w/ small chips"
            v-on:change="selectFile"
        >
        </v-file-input>
      </v-row>
      <v-row>
        <v-col cols="4">
          <v-btn
              color="brown lighten-3"
              width="100"
              v-on:click="uploadFiles"
          >
            アップロード
          </v-btn>
        </v-col>
      </v-row>

      <v-alert
        v-if="message"
        border="left"
        color="blue-grey"
        dark
      >
        <ul>
          <li v-for="(message, i) in message.split('\n')" :key="i">
            {{ message }}
          </li>
        </ul>
      </v-alert>

      <v-card v-if="fileInfos.length > 0" class="mx-auto">
        <v-list>
          <v-subheader>ファイル一覧</v-subheader>
          <v-list-item-group color="primary">
            <v-list-item v-for="(file, index) in fileInfos" :key="index">
              <a :href="file.url">{{ file.name }}</a>
            </v-list-item>
          </v-list-item-group>
        </v-list>
      </v-card>

      <div v-if="progressInfos">
        <div class="mb-2"
          v-for="(progressInfo, index) in progressInfos"
          :key="index"
        >
          <span>{{progressInfo.fileName}}</span>
          <v-progress-linear
            v-model="progressInfo.percentage"
            color="light-blue"
            height="25"
            reactive
          >
            <strong>{{ progressInfo.percentage }} %</strong>
          </v-progress-linear>
        </div>
      </div>
    </v-container>
  </v-app>
</template>

<script>
import UploadService from "../services/UploadFilesService";

export default {
  name: "TopPage",
  data() {
    return {
      selectedFiles: undefined,
      progressInfos: [],
      message: "",
      fileInfos: [],
    };
  },
  methods: {
    clickTestBtn: function () {
      this.$router.push("/testPage")
    },
    selectFile(event) {
      this.progressInfos = [];
      this.selectedFiles = event;
      this.currentFile = this.selectedFiles[0];
    },
    uploadFiles() {
      this.message = "";

      for (let i = 0; i < this.selectedFiles.length; i++) {
        this.upload(i, this.selectedFiles[i]);
      }
    },
    upload(idx, file) {
      this.progressInfos[idx] = { percentage: 0, fileName: file.name };

      UploadService.upload(file, (event) => {
        this.progressInfos[idx].percentage = Math.round(100 * event.loaded / event.total);
      })
        .then((response) => {
          let prevMessage = this.message ? this.message + "\n" : "";
          this.message = prevMessage + response.data.message;

          return UploadService.getFiles();
        })
        .then((files) => {
          this.fileInfos = files.data;
        })
        .catch(() => {
          this.progressInfos[idx].percentage = 0;
          this.message = "Could not upload the file:" + file.name;
        });
    },
  },
  mounted() {
    UploadService.getFiles().then((response) => {
      this.fileInfos = response.data;
    });
  },
};
</script>

<style>
</style>
UploadFilesService.js
サーバーにアップロード処理を投げるJavaScript
import http from "../http-common";

class UploadFilesService {
  upload(file, onUploadProgress) {
    let formData = new FormData();

    formData.append("file", file);

    return http.post("/upload", formData, {
      headers: {
        "Content-Type": "multipart/form-data"
      },
      onUploadProgress
    });
  }

  getFiles() {
    return http.get("/files");
  }
}

export default new UploadFilesService();
App.vue
このファイルはもともとあるので書き換え
<template>
  <v-app>
    <router-view/>
  </v-app>
</template>

<script>
export default {
  name: 'App'
};
</script>
http-common.js
axiosの共通処理
import axios from "axios";

export default axios.create({
  baseURL: "http://localhost:8080",
  headers: {
    "Content-type": "application/json"
  }
});
main.js
このファイルはもともとあるので内容の書き換え
import Vue from 'vue'
import App from './App.vue'
import router from './router.js'
import vuetify from './plugins/vuetify'
import axios from 'axios'
import VueAxios from 'vue-axios'

Vue.config.productionTip = false

Vue.use(VueAxios, axios)

new Vue({
  router,
  vuetify,
  render: h => h(App)
}).$mount('#app')
router.js
画面切り替え用のJS
import Vue from "vue"
import Router from "vue-router"

import TopPage from "@/pages/TopPage";
import TestPage from "@/pages/TestPage";

Vue.use(Router)

export default new Router({
    mode: "history",
    routes: [
        {
            path: "/",
            name: "トップページ",
            component: TopPage
        },
        {
            path: "/testPage",
            name: "テスト",
            component: TestPage
        }
    ]
})
ここまででフロント側の処理も書けたはず。設定ファイルを一部修正して動作確認。
3.ビルド場所の修正
package.json
ファイルの生成場所を下記のように修正する
{
  "name": "web",
  "version": "0.1.0",
  "private": true,
  "scripts": {
    "serve": "vue-cli-service serve",
    "build": "vue-cli-service build --dest ../src/main/resources/static/",
    "lint": "vue-cli-service lint"
  },
4.ビルド
ここまでできたら下記のコマンドでビルドする。
>cd プロジェクトフォルダ¥Web
>npm run build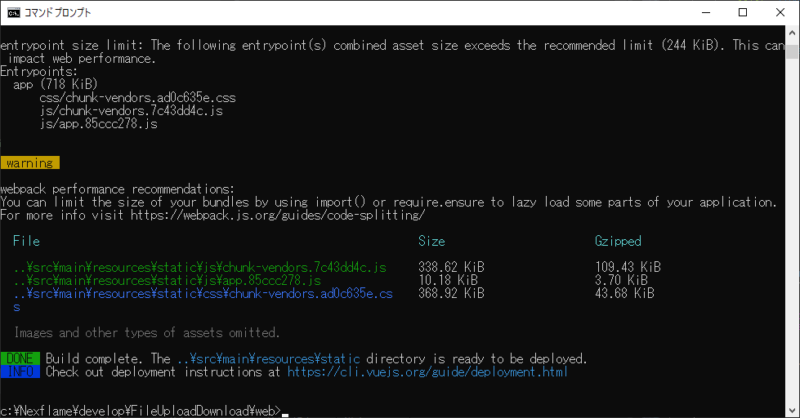
何とか成功したっぽい。
5.動作確認
Eclipseから実行してみる。
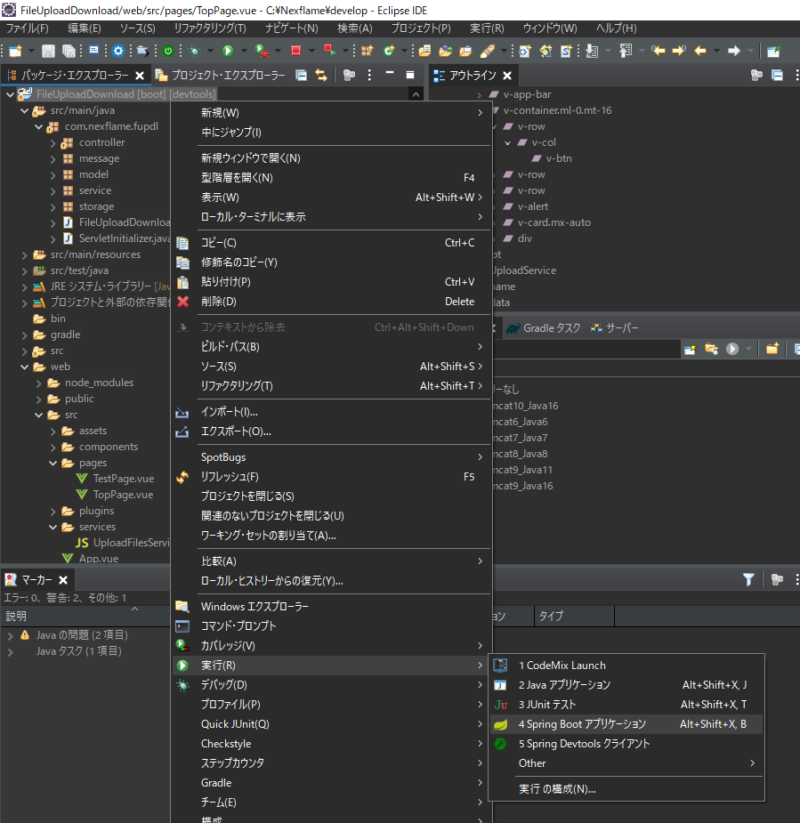
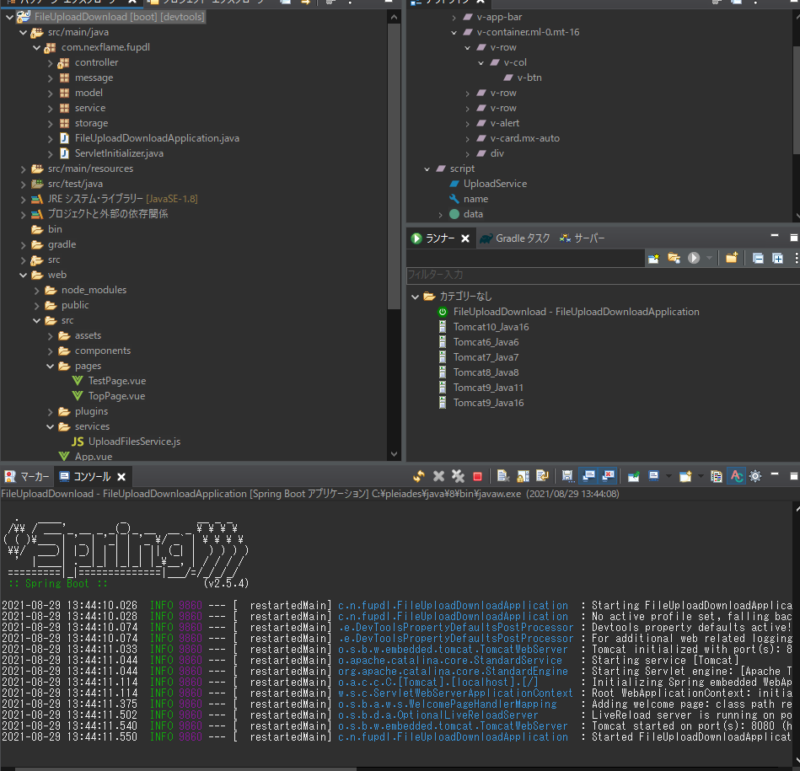
Springがうまく動いたのであとは、ブラウザで下記URLにアクセス
http://localhost:8080
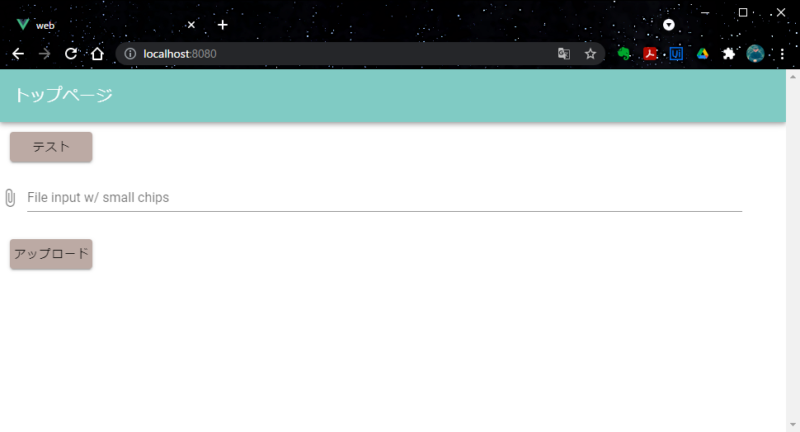
うまく動いた。
テストボタン押してみると・・・

おお。ちゃんと画面遷移した。サーバーから値も表示できている。TOP PAGEボタンで元に戻れた。
あとは、肝心のアップロードファイルを複数選択して、
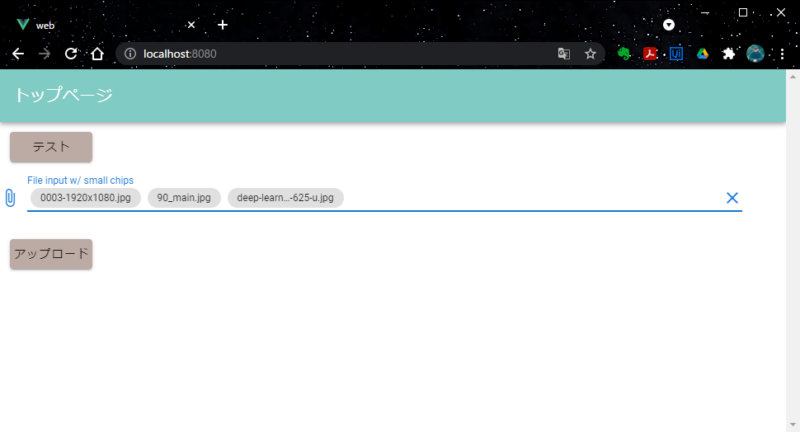
アップロードボタンクリック
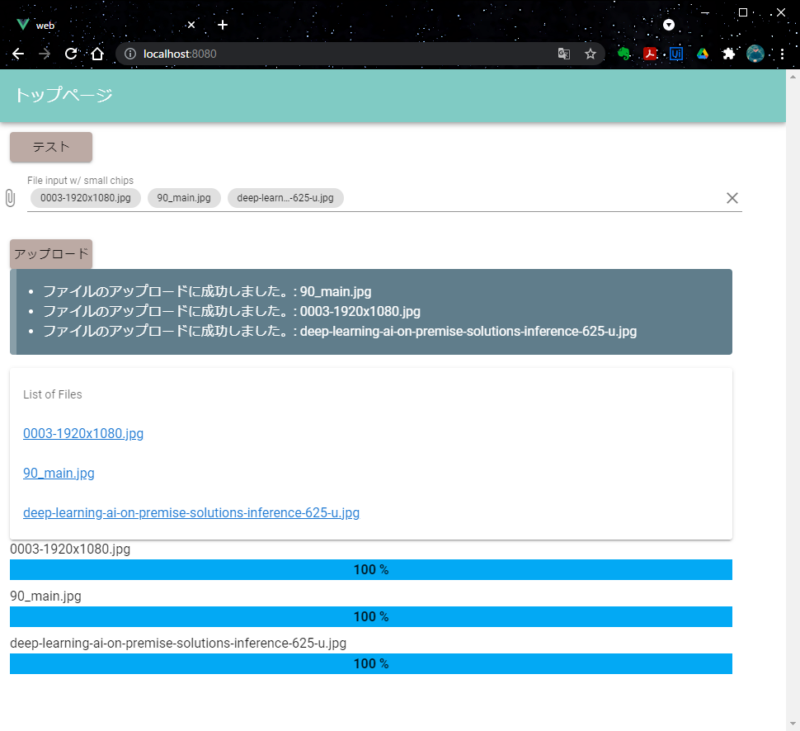
成功!
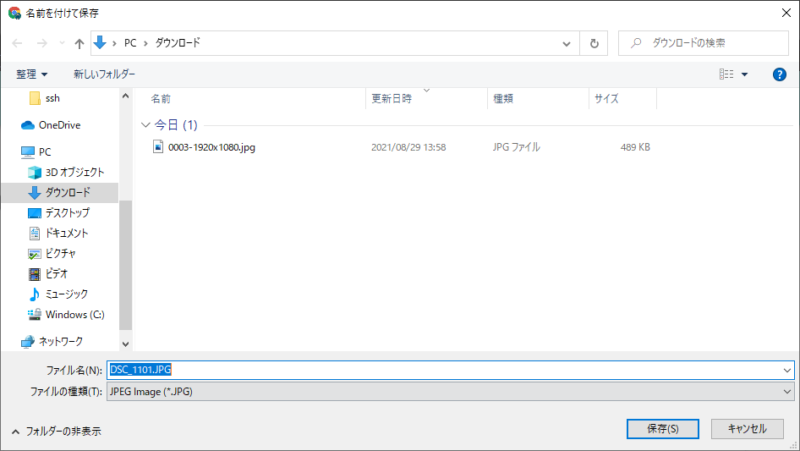
ダウンロードもファイルのリンククリックで無事にできました。
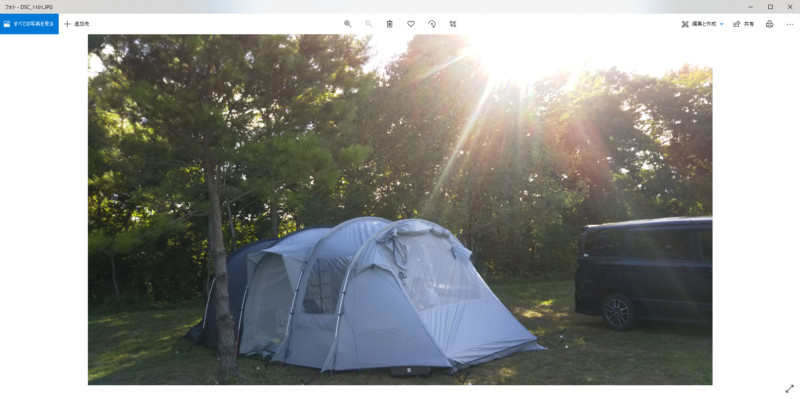
ファイルも壊れてなさそう。何とか目的は達成できた。久々の投稿はかなり技術よりの内容になりました。今回の事でいろいろと勉強になったので、他にもテーマを見つけて定期的に投稿していきたい。
コメント